

Discovering a leak or noticing damaged shingles on your home can be a stressful experience for any homeowner. The roof is your primary barrier against rain, wind, and extreme temperatures, so any compromise to its structure feels urgent. However, understanding how the repair process actually works transforms a confusing situation into a manageable, transparent home improvement project. A systematic repair sequence ensures that underlying structural damage is addressed alongside visible cosmetic issues, restoring your home’s envelope to full weather-tight integrity.
Stage 1: The Initial Inspection and Leak Tracing
The roof repair process always begins with a comprehensive visual and physical inspection. Professional technicians do not simply glance at the exterior shingles; they perform a systematic investigation starting from the inside out.
The inspection typically begins in the attic space, where technicians check for damp insulation, water-stained rafters, mold growth, or pinpoint gaps where daylight penetrates the roof deck. Because water often enters the roof at one location and travels several feet along internal beams before dripping through a ceiling, interior tracing is essential for identifying the precise entry point.
Once interior clues are gathered, technicians inspect the roof surface. They examine shingles for cracking, curling, or granule loss, check metal flashing around chimneys, vents, and valleys, and verify that gutters and fascia boards are securely attached. By evaluating the overall condition of the roof system, the inspector can determine whether a localized patch will suffice or if broader structural repairs are necessary.
Stage 2: Detailed Scope, Estimating, and Site Preparation
Following the inspection, the inspector compiles a formal report detailing the scope of work required. This document outlines the specific materials needed—such as matching replacement shingles, ice and water shields, underlayment felt, flashing, and roofing cement—along with an estimated timeline for completion. Partnering with a licensed roofing company ensures you receive a transparent breakdown of labor, material costs, and warranty coverage before any physical work begins.
Once the scope is approved and the repair date arrives, the crew prioritizes site protection. Roofing work generates debris like sharp nails, old shingles, and rusted flashing. Crew members lay down heavy-duty tarps along the perimeter of the home to protect landscaping, flowerbeds, outdoor furniture, and air conditioning units. They also set up staging areas for ladders and materials to ensure safety and efficiency throughout the project.
Stage 3: Tear-Off and Structural Substrate Repairs
With the perimeter secured, technicians begin removing damaged roofing components. Skipping this step and simply placing new shingles over old, rotted ones is a critical mistake that traps moisture and accelerates structural decay.
During the tear-off phase, technicians remove compromised shingles, deteriorated underlayment, and loose or corroded metal flashing down to the bare plywood roof deck. Exposing the structural sheathing allows the crew to check for hidden wood rot, sagging joists, or delaminated decking caused by long-term moisture exposure.
If rotted or soft plywood is discovered, those damaged sections are measured, cut out, and replaced with fresh, structural-grade sheathing. Securing a sound, stable substrate is vital because new shingles and flashing require a solid foundation to maintain their seal and hold fasteners securely during high-wind events.
Stage 4: Installing Underlayment and Primary Flashing
Once the structural deck is repaired and clean, technicians apply critical waterproofing barriers. A self-adhering ice and water shield membrane is typically installed along high-risk areas, including roof eaves, valleys, and around penetrations like skylights, vents, and chimneys. This rubberized membrane seals tightly around nail shafts to prevent water backup caused by ice dams or wind-driven rain.
Next, a layer of synthetic or asphalt-saturated underlayment is rolled out across the exposed deck to provide a secondary water-resistant barrier beneath the shingles. Following underlayment installation, technicians repair or replace metal flashing around chimneys, step-flashing along dormer walls, and drip edges along the roof margins. Correctly weaving new flashing layers into the underlayment guarantees that water naturally sheds downward off the roof without finding seam gaps.
Stage 5: Shingle Installation and System Integration
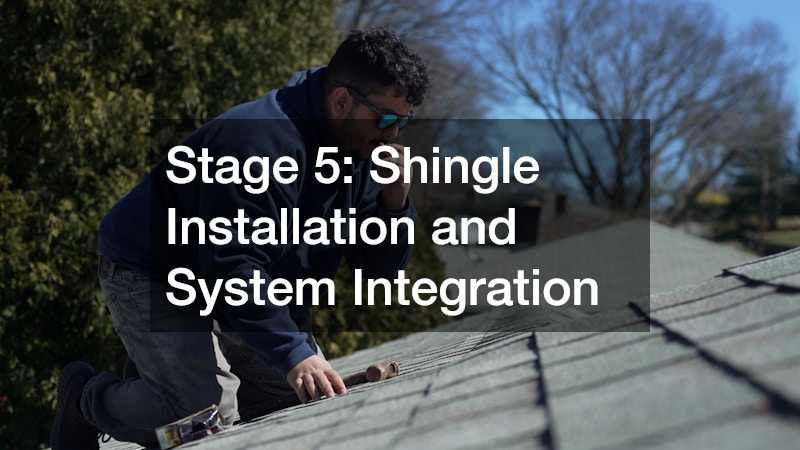
With the protective barriers in place, the crew installs new shingles that match the existing color, style, and manufacturer specifications of your home. Technicians follow strict installation guidelines, placing each shingle with precise alignment, proper exposure, and specified nail patterns to maximize wind-resistance ratings.
Special care is taken where new shingles join older, surrounding roofing materials. Technicians gently slip new course layers under existing, undamaged shingles to create a continuous, overlapping seal. Thermoplastic sealant or specialized roofing cement is then applied around flashings, pipe boots, and exposed nail heads to seal every potential entry point completely. Working with a reputable roofing company guarantees that all application methods comply with regional building codes and manufacturer warranty rules.
Stage 6: Cleanup, Quality Assurance, and Final Walkthrough
The repair process concludes with thorough site cleanup and a final quality inspection. Technicians sweep the roof, clear gutters of loose debris, and remove all discarded materials from the property. They use magnetic rollers across lawns, driveways, and flowerbeds to collect dropped roofing nails and metal scraps, ensuring your property is safe for pets and family members.
Finally, the project lead conducts a thorough inspection of the completed work. They verify that all flashings are sealed, replacement shingles are aligned, and drainage paths are completely unobstructed. Consulting a professional roofing company for a final walkthrough allows you to inspect the completed repair, review warranty coverage, and gain complete peace of mind knowing your home is fully protected against future weather elements.