Soundproofing a room might not be the first thing you think about when crafting your home remodel plan—but it should be. Whether you’re dealing with loud neighbors, noisy kids, a work-from-home setup, or you just want a little extra peace and quiet, learning how to soundproof a room can seriously improve your quality of life.
The best part? You don’t have to throw off your renovation timeline or go over budget to make it happen. With a few smart moves and the right materials, you can seamlessly integrate noise-reduction strategies into your home remodel plan.
Why Soundproofing Should Be Part of Your Home Remodel Plan
When you’re remodeling, you’re already tearing things down and building things up—it’s the perfect time to address the noise issues that frustrate you every day. Retrofitting soundproofing after the fact is possible, but it’s usually more complicated and expensive.
Soundproofing during remodeling makes sense because:
- You have better access to walls, ceilings, and floors
- It’s easier to upgrade materials and construction techniques
- You can design with noise control in mind from the start
Think of it this way: If you’re already replacing drywall, why not opt for sound-dampening options? If you’re redoing floors, why not add insulation beneath them? Small tweaks now can prevent big headaches later.
Start by Understanding What You’re Up Against

Before diving into insulation materials or soundproof drywall, it helps to understand what kind of noise you’re trying to control. Not all noise is created equal—and not all solutions work for every type.
So, how does sound actually travel?
Sound moves through air and solid materials, often taking the path of least resistance. That’s why a thin wall or an unsealed doorframe can transmit noise so easily. Understanding this helps you identify weak spots and avoid wasting money on the wrong fix.
There are two main categories of sound that affect home interiors:
1. Airborne Noise
This is the most common type of noise we hear every day:
- Voices
- TV and music
- Dogs barking
- Traffic sounds or outdoor conversations
Airborne noise travels through the air and thin surfaces, entering or exiting a room through gaps, vents, doors, and lightweight walls. You’ll typically hear this when someone is talking in the next room or playing music upstairs.
Best defense? Add mass (heavier materials), airtight seals, and soft surfaces that absorb sound waves.
2. Impact Noise
This is structural or contact-based noise, such as:
- Footsteps on hardwood or tile floors
- Chairs being dragged
- Doors slamming
- Kids jumping or running upstairs
Impact noise is transmitted through physical contact with the structure—walls, ceilings, or floors—so it’s harder to eliminate after construction.
Best defense? Use decoupling methods, vibration-absorbing materials, and layered construction to break the sound transfer path.
Where Is the Noise Coming From?
Before you commit to soundproofing materials, do a simple room-by-room assessment. Walk through your home, especially the rooms you’ll remodel, and ask yourself:
- Is the noise coming from outside the house?
(Think traffic, lawnmowers, neighbors, barking dogs.)
→ Focus on windows, exterior walls, and attic insulation. - Is it coming from inside your home?
(TVs, kids playing, someone working out or playing music.)
→ Look at walls, doors, shared floors, and ceiling cavities. - Are certain rooms louder than others?
→ Prioritize those for acoustic upgrades. Noise-prone areas like media rooms, kitchens, or stairwells often need extra attention. - How is the noise traveling?
→ Through walls? Under doors? Through ventilation ducts? Thin flooring? Try to track how sound moves between rooms or floors.
Tip: Use a decibel meter app or just sit quietly in the room at different times of day. You might be surprised by what you hear when everything’s still.
Once you’ve mapped out the sources and types of noise, you can align your soundproofing methods with your home remodel plan more effectively—focusing time and money where it counts most.
How to Soundproof a Room the Smart Way
Now that you’ve identified the noise and how it moves, let’s explore practical soundproofing methods you can incorporate without reworking your entire remodel. These upgrades are efficient, easy to plan around, and adaptable to most home layouts.
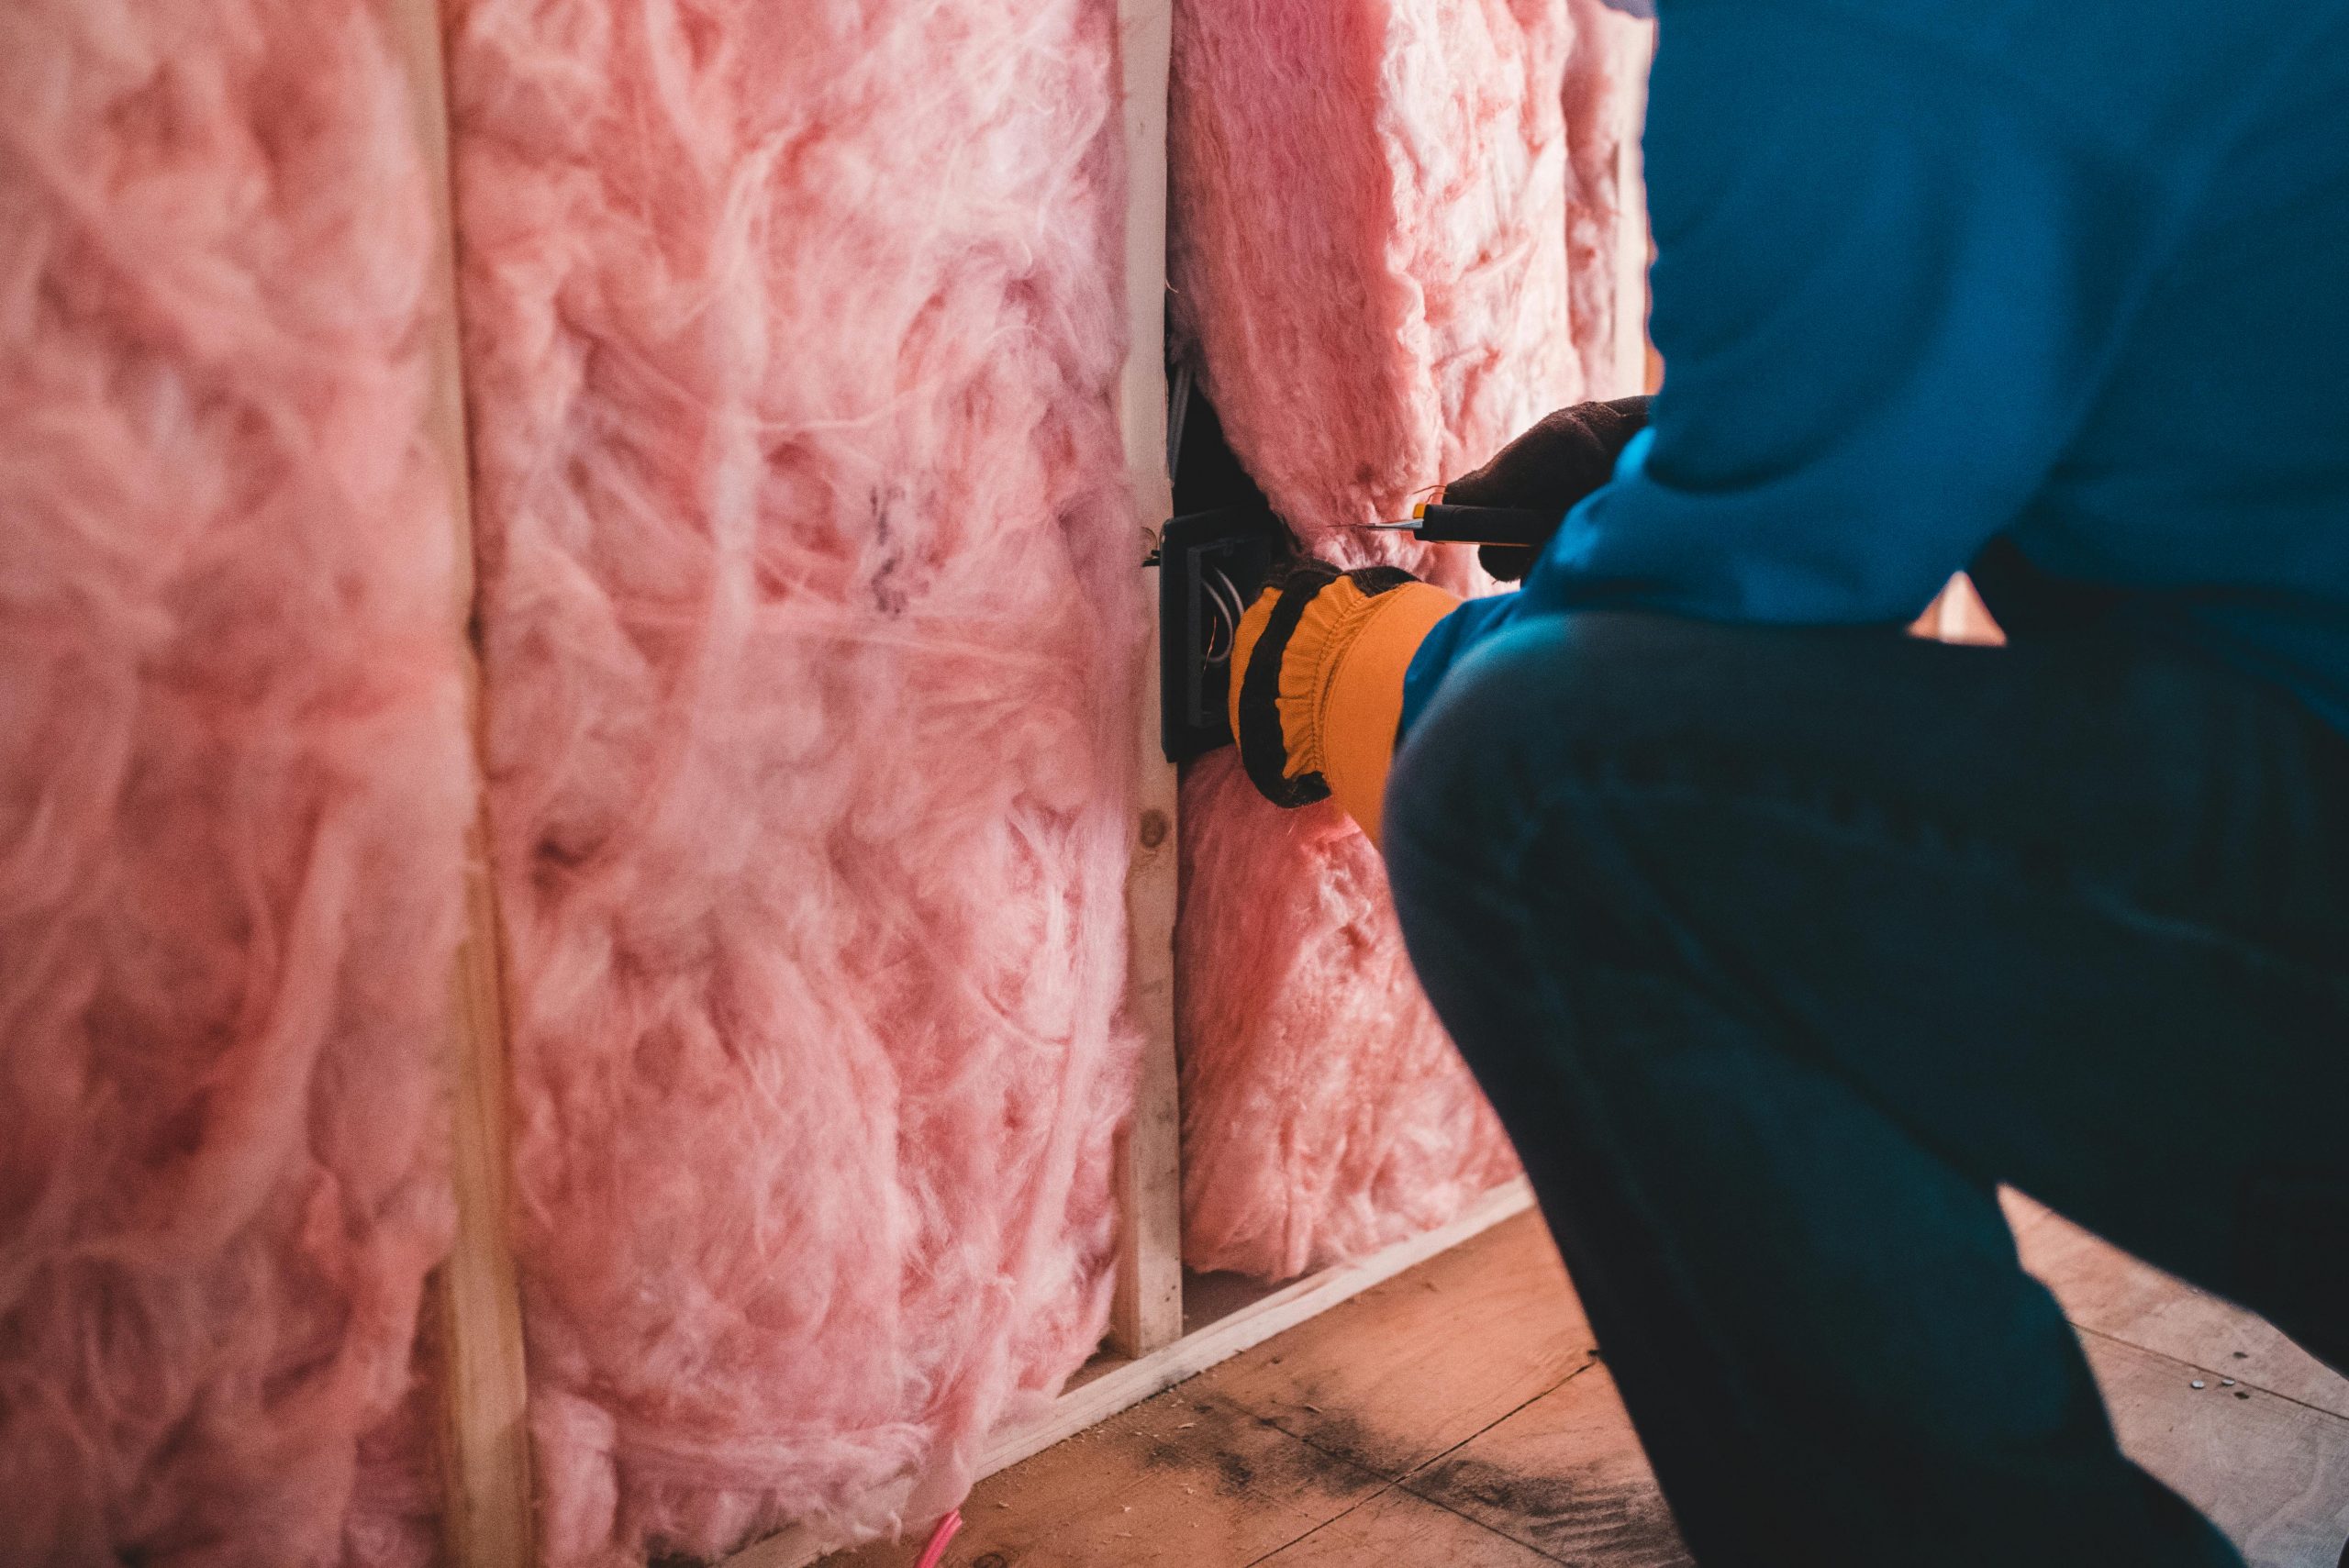
1. Add Soundproofing Insulation Inside Walls
If your remodel involves opening up or replacing walls, this is the perfect time to install acoustic insulation—the foundation of any good soundproofing setup.
Top insulation options:
- Mineral Wool (Rockwool): Fire-resistant and denser than standard fiberglass, it provides superior sound absorption and thermal insulation.
- Acoustic Fiberglass: Lightweight, flexible, and easier to install, though slightly less effective than Rockwool for noise control.
- Cellulose Insulation: Made from recycled materials. Great for eco-conscious remodelers and offers moderate sound absorption benefits.
Pro tip:
For maximum effect, combine insulation with resilient channels or sound isolation clips. These create a buffer between the wall framing and drywall, disrupting the vibration path that allows sound to travel.
2. Upgrade to Sound-Dampening Drywall
Standard drywall is thin and transmits sound easily. If you’re replacing or installing drywall anyway, upgrading to soundproof drywall is one of the smartest additions you can make.
Try:
- QuietRock or similar brands that layer materials internally to block vibrations
- Apply over acoustic insulation for even better results
Use in:
- Bedrooms
- Home offices
- Shared walls (e.g., between a living room and a nursery)
- Basement ceilings or walls
If you’re budget-conscious, don’t install sound-dampening drywall everywhere—just in high-priority rooms where noise matters most.
3. Use Acoustic Sealant Around Gaps and Seams
Gaps are the silent enemy of soundproofing. Even the smallest crack can let in surprising amounts of noise. The good news? Sealing them is simple and low-cost.
Apply acoustic sealant to:
- Gaps between drywall and floors/ceilings
- Electrical boxes, light fixtures, and vents
- Window and door frames
- Around plumbing or duct penetrations
Choose acoustic caulk over regular latex—it stays flexible over time and doesn’t shrink.
Even if you’re not gutting the walls, adding sealant at visible seams is a quick way to cut noise.
4. Install Solid-Core Doors
Most homes use hollow-core interior doors, which are cheap and lightweight—but poor at blocking noise.
If your remodel includes new doors, opt for solid-core doors. They’re heavier, denser, and offer a massive improvement in sound isolation.
Extra door upgrades:
- Door sweeps: Block the gap under the door
- Weatherstripping kits: Seal edges against the door frame
- Automatic door bottoms: Drop-down seals that activate when the door closes
These are easy to add and don’t require changing your layout or trim work.
5. Address Your Windows (Even If You’re Not Replacing Them)
If sound is leaking through your windows—but full replacements aren’t in your budget—there are still smart solutions.
Quick-fix options:
- Acoustic window inserts: Transparent panels that fit inside your existing frames to add another layer of sound protection
- Thick, layered curtains or blackout drapes: While not a true barrier, they absorb and dampen noise and echo
- Seal existing leaks: Use acoustic caulk around the window frame or foam tape on sash windows
Planning on new windows as part of your remodel? Choose double- or triple-pane insulated glass with a laminated layer for added soundproofing.
6. Quiet the Floors With Underlayment
Floor noise—especially footsteps—can drive you nuts in a multi-story home. If your remodel includes new flooring, you have the perfect opportunity to build in a noise barrier.
Underlayment types:
- Cork: Naturally absorbent and eco-friendly
- Rubber: Durable and excellent for reducing both airborne and impact noise
- Foam composites: Often used under vinyl or laminate
These materials go between the subfloor and your finished floor—ideal for:
- Upstairs bedrooms
- Apartments or duplexes
- Kids’ rooms
- High-traffic areas
Tip: If you’re not changing flooring, large rugs with thick pads are the next-best option to reduce impact noise.
7. Add Sound Absorbers Without Changing Construction
If you’re not doing heavy structural changes, there are still lots of stylish, removable ways to improve room acoustics.
Décor-based upgrades:
- Acoustic panels: Mount on walls or ceilings; available in stylish colors and prints
- Bookshelves: Packed with books, they act as built-in sound barriers
- Heavy curtains or drapes: Useful for blocking sound and reducing echo
- Large wall art on acoustic canvas: Combines aesthetics with function
These upgrades are perfect if you’re soundproofing on a tight budget or want to tackle acoustics after your remodel is mostly done.
8. Drop Ceilings or Acoustic Tiles for Ceiling Noise
Basements and lower-level rooms often suffer from noise bleeding in from above. During a remodel, a drop ceiling lets you add insulation and acoustic panels between floors.
Why it works:
- Creates a sound buffer zone
- Easy to access for wiring and plumbing
- Ideal for finishing a noisy basement
If a drop ceiling isn’t your style, you can install acoustic ceiling tiles directly onto your existing ceiling for a more finished look.
Planning Ahead: Where Should You Prioritize Soundproofing?

You probably don’t need to soundproof your entire house—but here’s where it’s worth including in your remodel:
- Bedrooms: Especially near loud zones or shared walls
- Home Office: Reduce distractions for work calls and focus
- Nursery or Kids’ Room: Promote better sleep for the whole family
- Media Room/Home Theater: Contain noise and avoid disturbing others
- Shared Walls in Duplexes or Townhomes: Add privacy and value
Focus on the rooms where privacy, productivity, or peace are the top priority.
Will This Add a Lot to My Budget?
Not necessarily.
Here’s how to manage costs without sacrificing performance:
- Prioritize the noisiest areas in your remodel
- Choose cost-effective materials (e.g., mineral wool over specialty drywall)
- Combine passive soundproofing (insulation, doors) with decor-based absorption (rugs, curtains)
Soundproofing is one of those rare home upgrades where even partial implementation makes a noticeable difference.
Should You DIY or Call in a Pro?
That depends on your comfort level and the complexity of your remodel.
DIY-friendly soundproofing tasks:
- Installing acoustic panels or rugs
- Adding door sweeps and window seals
- Hanging curtains or bookshelves
Better left to contractors:
- Swapping in solid-core doors
- Installing insulation or resilient channels inside walls
- Replacing drywall or adding acoustic underlayment
If you’re already hiring a general contractor, ask them how to integrate soundproofing into your current home remodel plan. Many are familiar with acoustic best practices and can make recommendations that won’t delay your timeline.
Final Thoughts: Make Soundproofing a Smart Part of Your Home Remodel Plan
You don’t need to go overboard or rip up your entire blueprint to enjoy a quieter home. Instead, think of soundproofing as a layered strategy—one that can be added piece by piece without derailing your progress.
By choosing the right materials, focusing on high-impact areas, and aligning upgrades with your existing remodel work, you’ll create a more peaceful, private, and practical living space without losing control of your time or budget.