If you’re planning a home renovation, it’s the perfect time to make your space quieter, too. Whether you’re upgrading a shared bedroom wall, building a home office, or just tired of hearing everything from the next room, soundproofing during a renovation is a smart and efficient move. Why? Because your walls are already open or being worked on—so you can add high-performance materials and techniques without doubling the mess.
Here’s everything you need to know about how to soundproof a wall during a renovation project—without adding major costs or delays.
Why Bother Soundproofing Walls at All?

Most walls in typical homes aren’t built with noise in mind. They’re usually framed with drywall over standard 2×4 studs and some fiberglass insulation. That’s enough for basic thermal insulation, but not nearly enough to block sound—especially if you have:
- Loud kids or pets
- Shared bedrooms or bathrooms
- A home office or podcast studio
- A noisy neighbor (in multi-family or townhouse units)
If you’ve already looked into how to soundproof a room, you’ll know that the walls are often the weakest link when it comes to blocking noise.
When in Your Renovation Should You Soundproof Walls?
Ideally, soundproofing should happen after framing but before drywall installation. This allows you to add insulation, resilient channels, or mass-loaded barriers without having to undo finished work.
If your renovation is less invasive (like just painting or replacing flooring), you can still add some surface-level treatments, but the results won’t be as powerful.
This is also the best time to tap into trusted home renovation resources to make sure your materials, timing, and contractors are aligned. Don’t assume your builder or remodeler will handle soundproofing unless you bring it up specifically.
What Makes a Wall Soundproof?
Before diving into the how, let’s talk about what actually stops sound:
- Mass: The more mass a wall has, the harder it is for sound to pass through.
- Dampening: Materials that absorb vibrations reduce noise transfer.
- Decoupling: Separating parts of the wall so vibrations can’t travel easily.
- Insulation: Fills the wall cavity to absorb sound and reduce echo.
The most effective wall soundproofing uses a combo of these four methods. Now let’s break them down into real-world materials and steps you can use during your renovation.
How to Soundproof a Wall Step-by-Step
Step 1: Choose the Right Wall to Soundproof
Not all walls need soundproofing. Focus on the ones that matter most, such as:
- Bedroom walls that adjoin shared living spaces
- Bathroom walls for privacy
- Home office or media room walls
- Party walls in duplexes or row houses
If you’re doing a full renovation, mark these priority walls in your home remodel plan.
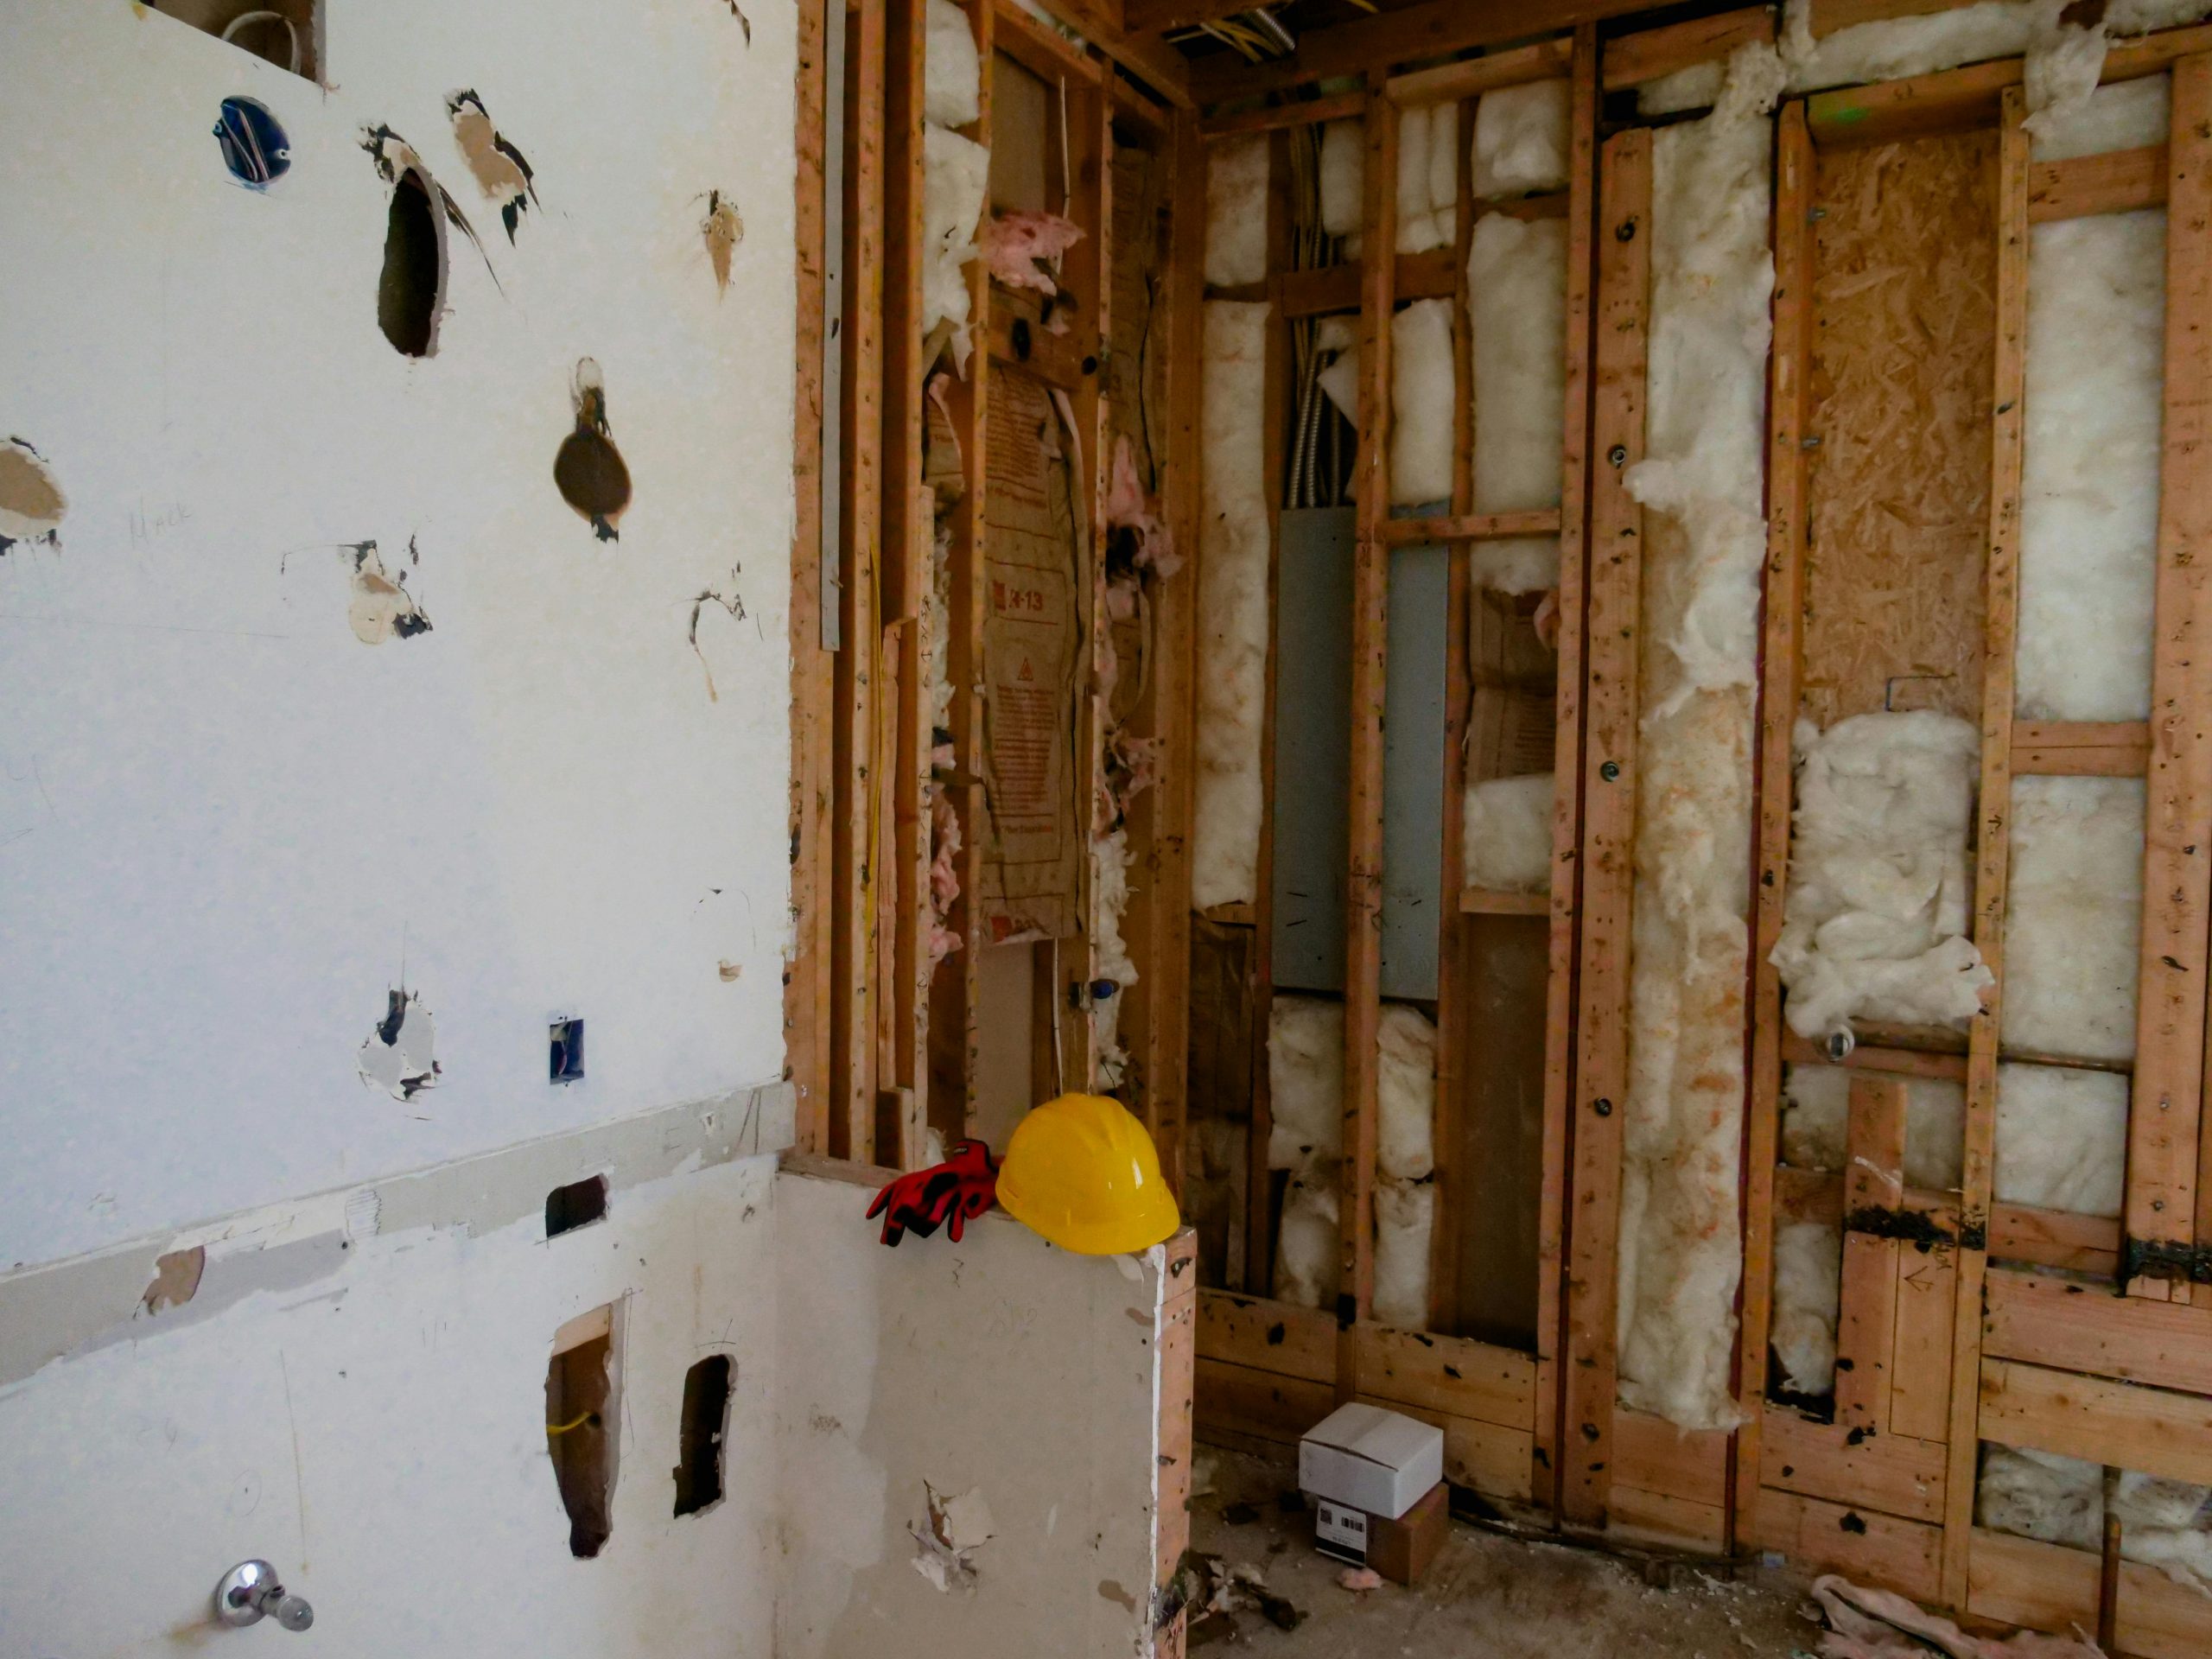
Step 2: Open Up the Wall or Plan for New Construction
If the drywall is already coming down—or you’re building new walls—you’re in a great position. This gives you full access to the wall cavity and framing. You can now install the best materials directly, rather than applying surface solutions later.
Step 3: Add High-Density Insulation
Start by filling the stud cavities with sound-absorbing insulation. The best options include:
- Mineral wool (rockwool) – Fire-resistant, dense, and superior for soundproofing.
- Fiberglass batt insulation – Less effective than mineral wool but better than nothing.
- Cellulose insulation – Good for blown-in applications if you’re not opening the wall.
Pro tip: Pack it snugly but don’t compress it. Over-compression reduces sound-absorbing performance.
Step 4: Decouple the Wall
This is one of the most effective (and least understood) parts of soundproofing.
Decoupling means making parts of the wall move independently so that sound vibrations don’t pass through as easily.
Options during renovation include:
- Resilient channel: A metal channel installed across studs that drywall attaches to. It creates a flexible buffer that reduces vibration transfer.
- Sound isolation clips with hat channel: More advanced and effective than basic resilient channel, though pricier.
- Staggered stud framing: If you’re building a new wall, stagger studs on a wider bottom plate to create two sets of non-touching walls.
Step 5: Add Mass with Extra Layers
To block sound, you need more mass on the wall surface. There are two main ways to do this:
Option A: Double Drywall
- Install two layers of drywall, ideally with Green Glue damping compound between them.
- Green Glue absorbs vibrations and adds damping to the mass layers.
Option B: Mass-Loaded Vinyl (MLV)
- A dense, flexible sheet that adds mass and reduces airborne noise.
- Staple or screw MLV directly over studs or drywall before adding a final drywall layer.
Step 6: Seal Every Gap
Sound can travel through even the smallest holes. Before closing up the wall, take time to:
- Use acoustic caulk around outlets, light switch boxes, and seams.
- Seal gaps along the floor plate and top plate with acoustical sealant or expanding foam.
- Ensure outlet boxes are backed with putty pads or soundproofing putty.
You can also install backer boxes or soundproof electrical boxes if you’re replacing fixtures during renovation.
What If You Can’t Open the Wall?
If the wall isn’t open (or can’t be), here are surface-level options:
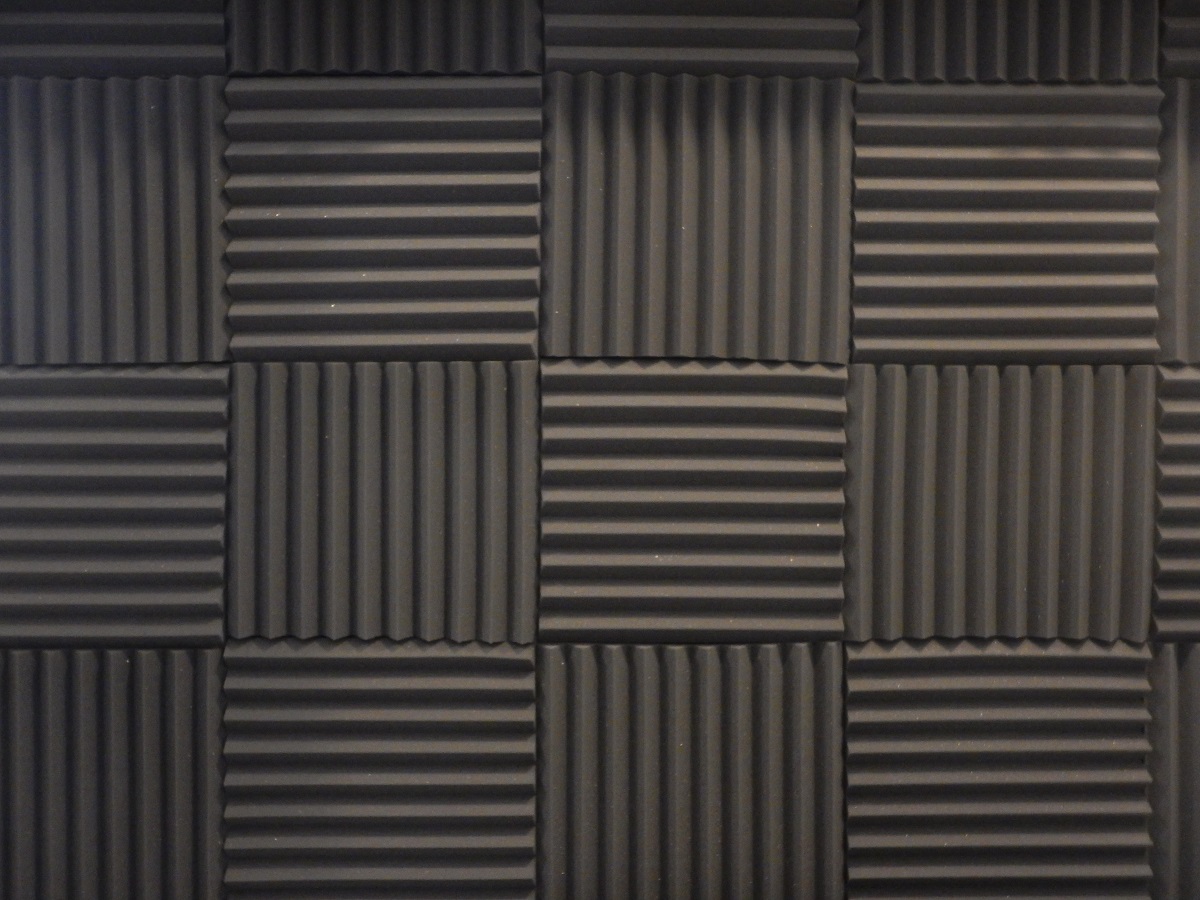
- Apply acoustic panels or decorative sound-absorbing wall tiles.
- Add bookshelves or other dense furniture to absorb and block sound.
- Install a second layer of drywall with Green Glue—this can still be effective without opening the wall cavity.
How Much Does It Cost to Soundproof a Wall During Renovation?
Costs vary based on size, materials, and how much labor you outsource. Here’s a rough breakdown per 8-ft x 10-ft wall:
| Item | Estimated Cost |
| Mineral wool insulation | $60–$100 |
| Resilient channel | $40–$60 |
| Mass-loaded vinyl (MLV) | $120–$160 |
| Green Glue (for 2 drywall layers) | $70–$100 |
| Extra drywall (2 layers) | $80–$120 |
| Acoustic caulk/sealant | $15–$30 |
Total per wall: $300–$550, excluding labor
If you’re already paying for drywall and framing work as part of your home remodel plan, adding these elements may only bump the cost slightly—while significantly boosting comfort and privacy.
Bonus Tips for Even Better Soundproofing
- Use solid core doors if the wall includes an entry point.
- Add door sweeps and weather stripping to seal air gaps.
- Make sure the ceiling and floor are also addressed if sound is traveling from those directions.
- Discuss wall soundproofing early with your contractor or remodel team so it’s included in the plan.
Wrapping Up: Make It Count During Your Remodel
Soundproofing a wall during a renovation project is one of the smartest upgrades you can make for long-term livability. It’s easier, cheaper, and more effective when walls are already open and being modified.
By combining insulation, mass, damping, and sealing—all built into your home remodel plan—you can enjoy quieter nights, more privacy, and a much more peaceful home.